It probably won’t come as a surprise that your car engine contains many moving parts. In order for your vehicle to work properly, these moving parts need to run smoothly without creating excessive friction.
If that happens, the engine parts can suffer damage and stop working. Then, you’ll be in the market for a new car. Getting a simple oil change is a much more affordable option.
Changing your oil is easier than you think. Read ahead for our step-by-step explanation.
1. Raising the Vehicle
Of all the steps, this is the most crucial because your safety depends on it. In order to have space to work, you will need to jack up your car.
There are a few ways to get under your vehicle. Not everyone has a 9,000 lb. auto lift in their garage. You will likely be using safety stands, ramps, or some other type of hoist.
Please take the time to employ the proper technique to avoid a potentially fatal accident. Never get under a car that is suspended just with a floor jack.
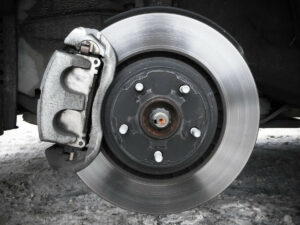
2. Inspection
Maintaining your vehicle requires keen observation.
Now that you have better access, it is time to take a look at the situation. You may have to remove the undertray, a plastic cover that protects the bottom of the motor.
Now is the ideal time to check for any leaks or other problems. If significant leaks are present, it’s better to repair them before changing the oil.
3. Drain the Oil
We are not just adding motor oil, we are changing it. That means we have to drain the old stuff before adding the new.
Remember that receptacle for the oil we mentioned? This is when you are going to need it handy. Otherwise, you could get a gallon or more of dirty car oil all over the floor.
First, loosen the oil filler cap on top. Then, put the container in place and loosen the drain plug with a wrench. Gravity does the work as the oil will empty on its own.
4. Remove the Oil Filter
If you’re changing the oil, it only makes sense to replace the oil filter as well. It should be close to the drain plug. It has a cylindrical shape.
You loosen and remove oil filters by rotating them counterclockwise. You might be able to do this with your hand but an oil-filter wrench makes this much easier.
Have the oil receptacle ready as this could get messy.
5. Plug It up and Replace the Filter
Wait for all the old oil to drain out. Now, you can screw the drain plug back on. Screw it tightly but don’t overdo it.
Also, this is the time to install the new filter. Before you screw it on, use your finger to apply a dab of oil around the O-ring. This allows it to seal better.
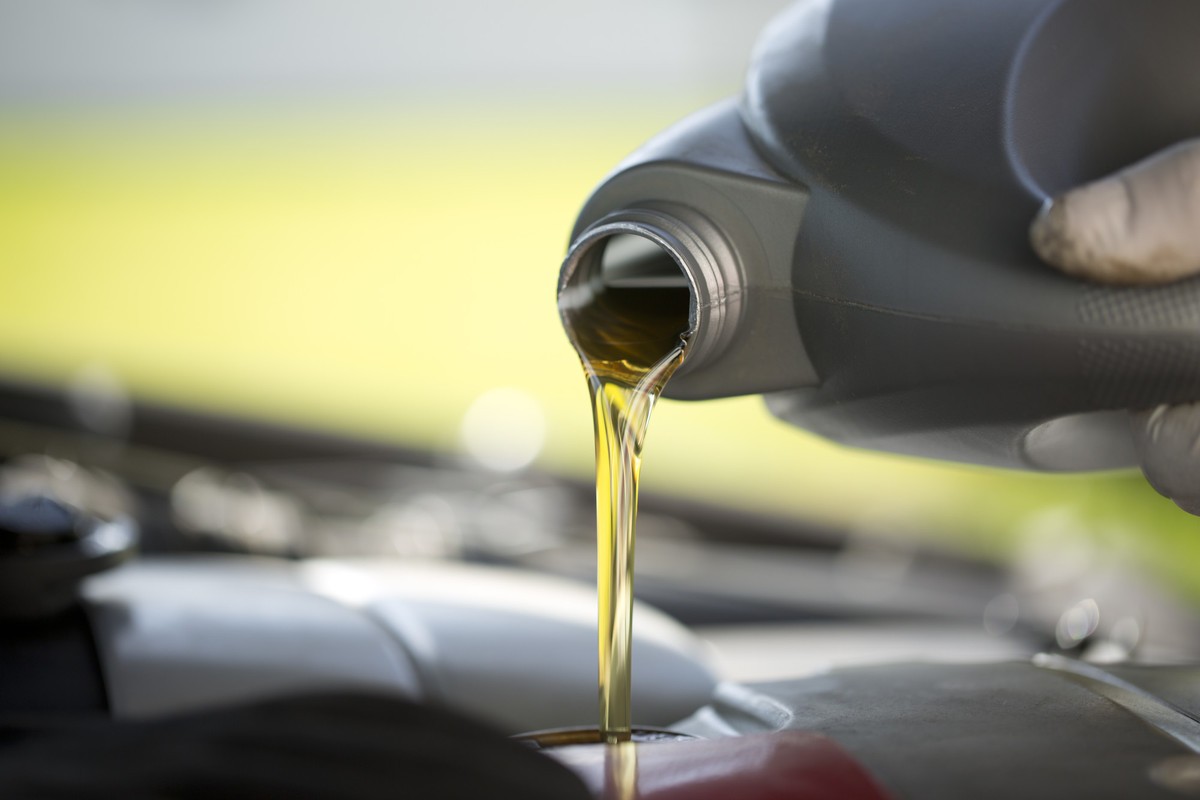
6. Fill It up
First, double-check that both the drain bolt and filter are well-placed.
If so, you can add fresh motor oil. Close the cap and start the engine to let the new oil circulate.
Remember, a good oil change frequency is once every 5,000-7500 miles.
Your Next Oil Change
Now, your vehicle is good to go. Just remember to safely lower your car before you drive off.
Don’t waste time going to a shop for a simple oil change. Knowing how to change your oil by yourself is a useful life skill.
At Dependable Car Care, we want you to get the most out of your vehicles. Visit this page to request an appointment to speak with one of our experts.